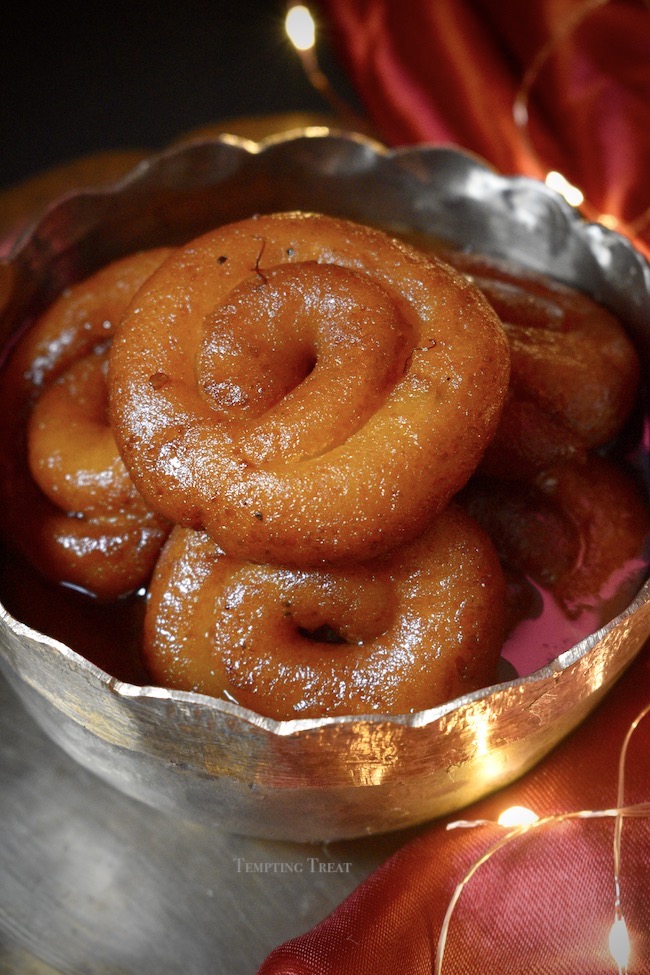
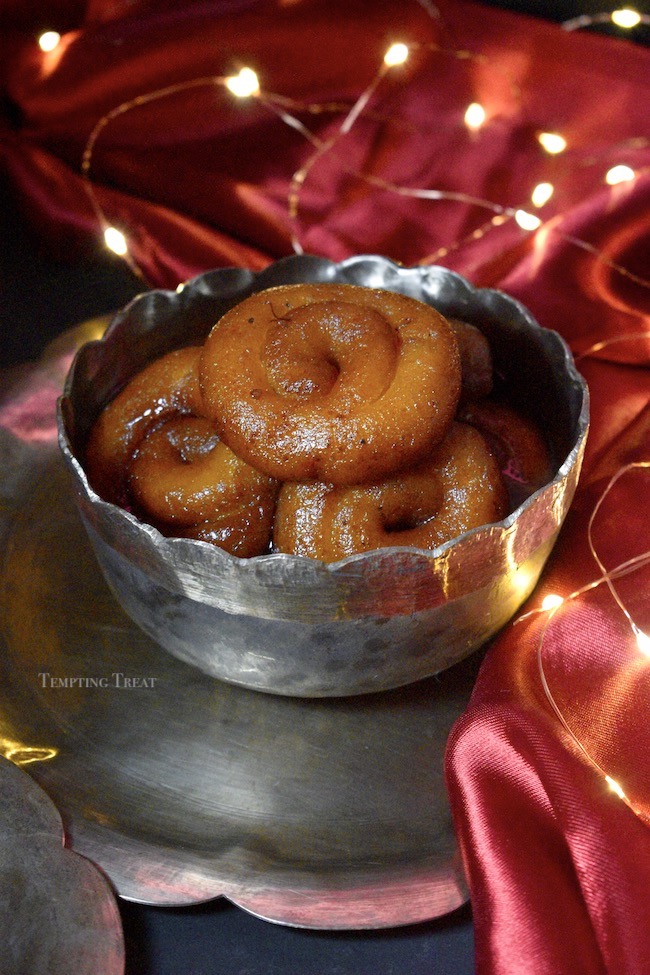
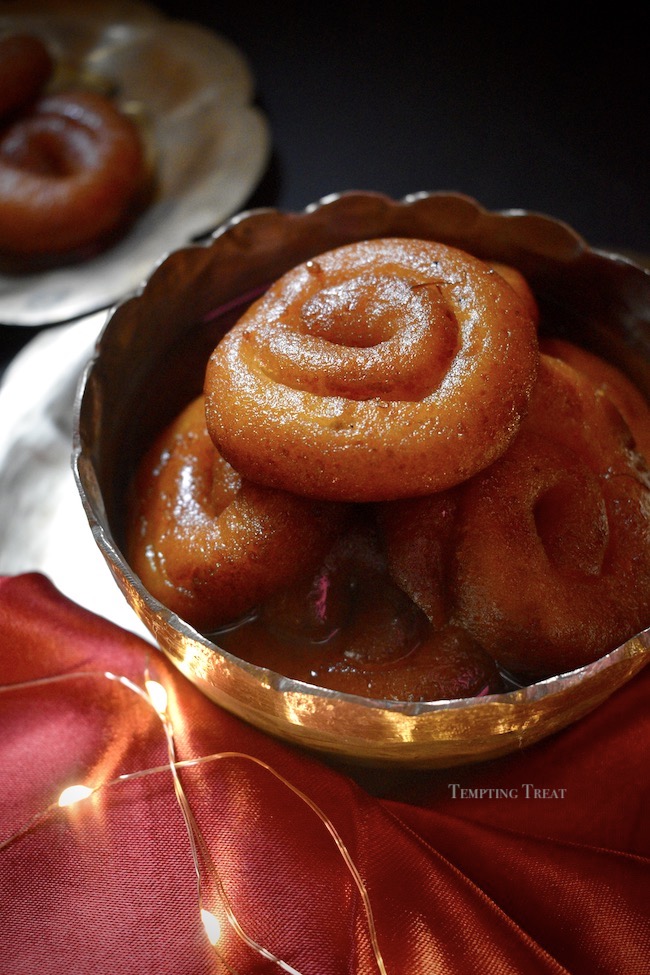
Bengali Chanar Jilipi Recipe
Learn how to make Bengali chanar jilipi at home with this easy step-by-step video recipe. To make this you will need homemade chena/chana/paneer, milk powder, suji/semolina, milk, baking powder and some other simple ingredients.
Watch how to make Chanar Jilipi:
If you liked this video then subscribe to my YouTube channel. And don’t forget to hit the bell icon so you’ll know whenever there is a new video.
For the chanar jilipi:
2 L full cream milk
3 tbsp lemon juice
3 tbsp water
4 tbsp milk, warm
3 tbsp semolina or suji
4 tbsp all-purpose flour
3 tbsp milk powder
½ tsp baking powder
1 tsp green cardamom powder or choti elaichi, only seeds
1 tbsp ghee or clarified butter
For the sugar syrup:
3.5 cup sugar
2 cup water
2 green cardamom pods or choti elaichi
Few strands of saffron or kesar
Cooking Method:
To make chana or cheena at home:
Pour milk into a pot and bring it to a boil over a medium flame. Stir frequently.
In a small bowl, pour lemon juice and water. Mix well.
When the milk starts boiling, lower the flame and pour the lemon-water mixture, one tablespoon at a time.
Keep stirring after every addition. And as soon as the milk curdles and the colour of the liquid becomes light green, stop pouring the lemon-water mixture.
Turn the flame off. Line a strainer with cheese or muslin cloth and place it over a large bowl. Pour the curdled milk into the strainer. You can discard this greenish water(whey) or use it to make soups, curries, dough etc.
Wash the chena with water. Tie the cloth and hang it for 2 hours.
To make the sugar syrup:
In a large pot, add sugar, water, green cardamom pods and saffron strands.
Bring it to a boil over a medium flame, while stirring frequently.
Once the sugar crystals dissolve completely and the syrup is slightly sticky (but still watery), turn the flame off. Keep it aside.
To make chanar jilipi:
In a small bowl, pour warm milk and add semolina. Give it a good mix. Keep it aside and let it soak for a few minutes.
Take the chana out of the muslin cloth and transfer it to a plate. Add soaked semolina, milk powder, all-purpose flour, green cardamom powder, ghee and baking powder.
Knead it for a few minutes until the chana becomes smooth and non-sticky. It may take 10-15 minutes.
Then divide the dough into 15-16 small balls.
Take one ball and roll it into a 5-6 inch long rope. Swirl it up to form a jilipi. Then slightly pinch and press the end of the rope on the side of the jilipi. (Watch the video)
As the dough is very soft, be very gentle while shaping the jilipis. Sometimes it might crack but don’t worry, just pinch it.
Note: If while shaping the jilipis, it breaks or you are not able to form the jilipi then it means the dough is too soft. In this case, add more flour and knead it well. Then try again.
Make the rest of the jilipis in the same manner.
Pour oil into a deep pot/pan. Heat it over a medium flame. Once it heats up, lower the flame.
Carefully drop the jilipis into the hot oil. Deep fry in small batches (3-4 at a time).
Once one side of the jilipi turns golden brown, flip and cook the other side as well.
While the jilipis are cooking, heat the sugar syrup over a low flame on another burner.
When the jilipi turns golden brown on both sides, carefully take it out on a plate lined with absorbent paper.
Allow it to cool down a little (for just 1-2 minutes). Then drop them into the sugar syrup.
Continue cooking all the jilipis, take them out, let them cool down a little and then drop them into the syrup.
After adding all the jilipis to the syrup, increase the flame and bring the syrup to a boil.
Boil the jilipis for 1-2 minutes. Then switch the flame off. Cover the pot with a lid. And let it soak for 30 minutes.
After 30 minutes, chanar jilipi is ready to serve (you can serve it both hot and cold).
Enjoy!
For more festive recipes, click here.
Print It Or Pin It For Later!
Bengali Chanar Jilipi Recipe
Ingredients
For the chanar jilipi:
- 2 L full cream milk
- 3 tbsp lemon juice
- 3 tbsp water
- 4 tbsp milk warm
- 3 tbsp semolina or suji
- 4 tbsp all-purpose flour
- 3 tbsp milk powder
- ½ tsp baking powder
- 1 tsp green cardamom powder or choti elaichi only seeds
- 1 tbsp ghee or clarified butter
For the sugar syrup:
- 3.5 cup sugar
- 2 cup water
- 2 green cardamom pods or choti elaichi
- Few strands of saffron or kesar
Instructions
To make chana or cheena at home:
- Pour milk into a pot and bring it to a boil over a medium flame. Stir frequently.
- In a small bowl, pour lemon juice and water. Mix well.
- When the milk starts boiling, lower the flame and pour the lemon-water mixture, one tablespoon at a time.
- Keep stirring after every addition. And as soon as the milk curdles and the colour of the liquid becomes light green, stop pouring the lemon-water mixture.
- Turn the flame off. Line a strainer with cheese or muslin cloth and place it over a large bowl. Pour the curdled milk into the strainer. You can discard this greenish water(whey) or use it to make soups, curries, dough etc.
- Wash the chena with water. Tie the cloth and hang it for 2 hours.
To make the sugar syrup:
- In a large pot, add sugar, water, green cardamom pods and saffron strands.
- Bring it to a boil over a medium flame, while stirring frequently.
- Once the sugar crystals dissolve completely and the syrup is slightly sticky (but still watery), turn the flame off. Keep it aside.
To make chanar jilipi:
- In a small bowl, pour warm milk and add semolina. Give it a good mix. Keep it aside and let it soak for a few minutes.
- Take the chana out of the muslin cloth and transfer it to a plate. Add soaked semolina, milk powder, all-purpose flour, green cardamom powder, ghee and baking powder.
- Knead it for a few minutes until the chana becomes smooth and non-sticky. It may take 10-15 minutes.
- Then divide the dough into 15-16 small balls.
- Take one ball and roll it into a 5-6 inch long rope. Swirl it up to form a jilipi. Then slightly pinch and press the end of the rope on the side of the jilipi. (Watch the video)
- As the dough is very soft, be very gentle while shaping the jilipis. Sometimes it might crack but don’t worry, just pinch it.
- Note: If while shaping the jilipis, it breaks or you are not able to form the jilipi then it means the dough is too soft. In this case, add more flour and knead it well. Then try again.
- Make the rest of the jilipis in the same manner.
- Pour oil in a deep pot/pan. Heat it over a medium flame. Once it heats up, lower the flame.
- Carefully drop the jilipis into the hot oil. Deep fry in small batches (3-4 at a time).
- Once one side of the jilipi turns golden brown, flip and cook the other side as well.
- While the jilipis are cooking, heat the sugar syrup over a low flame on another burner.
- When the jilipi turns golden brown on both sides, carefully take it out on a plate lined with absorbent paper.
- Allow it to cool down a little (for just 1-2 minutes). Then drop them into the sugar syrup.
- Continue cooking all the jilipis, take them out, let them cool down a little and then drop them into the syrup.
- After adding all the jilipis into the syrup, increase the flame and bring the syrup to a boil.
- Boil the jilipis for 1-2 minutes. Then switch the flame off. Cover the pot with a lid. And let it soak for 30 minutes.
- After 30 minutes, chanar jilipi is ready to serve (you can serve it both hot and cold).
- Enjoy!
If you do try this recipe, please share your experience with me by posting a picture of the dish using #temptingtreat and @temptingtreat on Instagram or you can also give your feedback in the comments section below.
Happy Cooking!

Garlic Cheese French Fries

You May Also Like
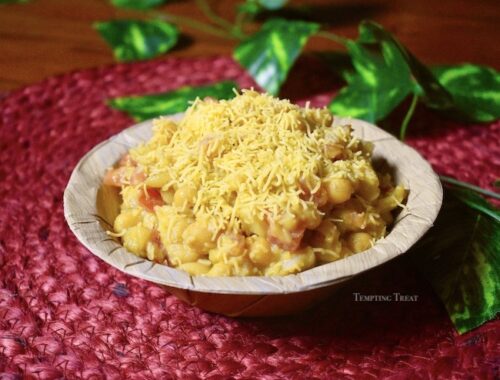
Bengali-Style Matar Chaat Recipe
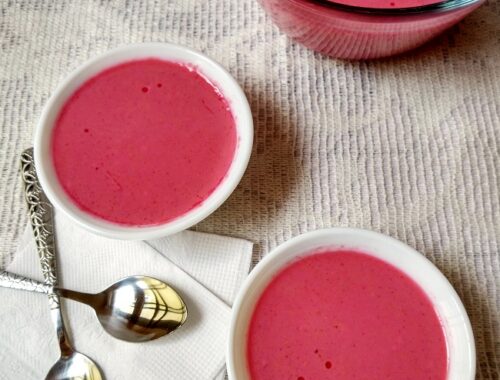
Mishti Doi | Bengali Meetha Dahi | Homemade Sweet Yogurt